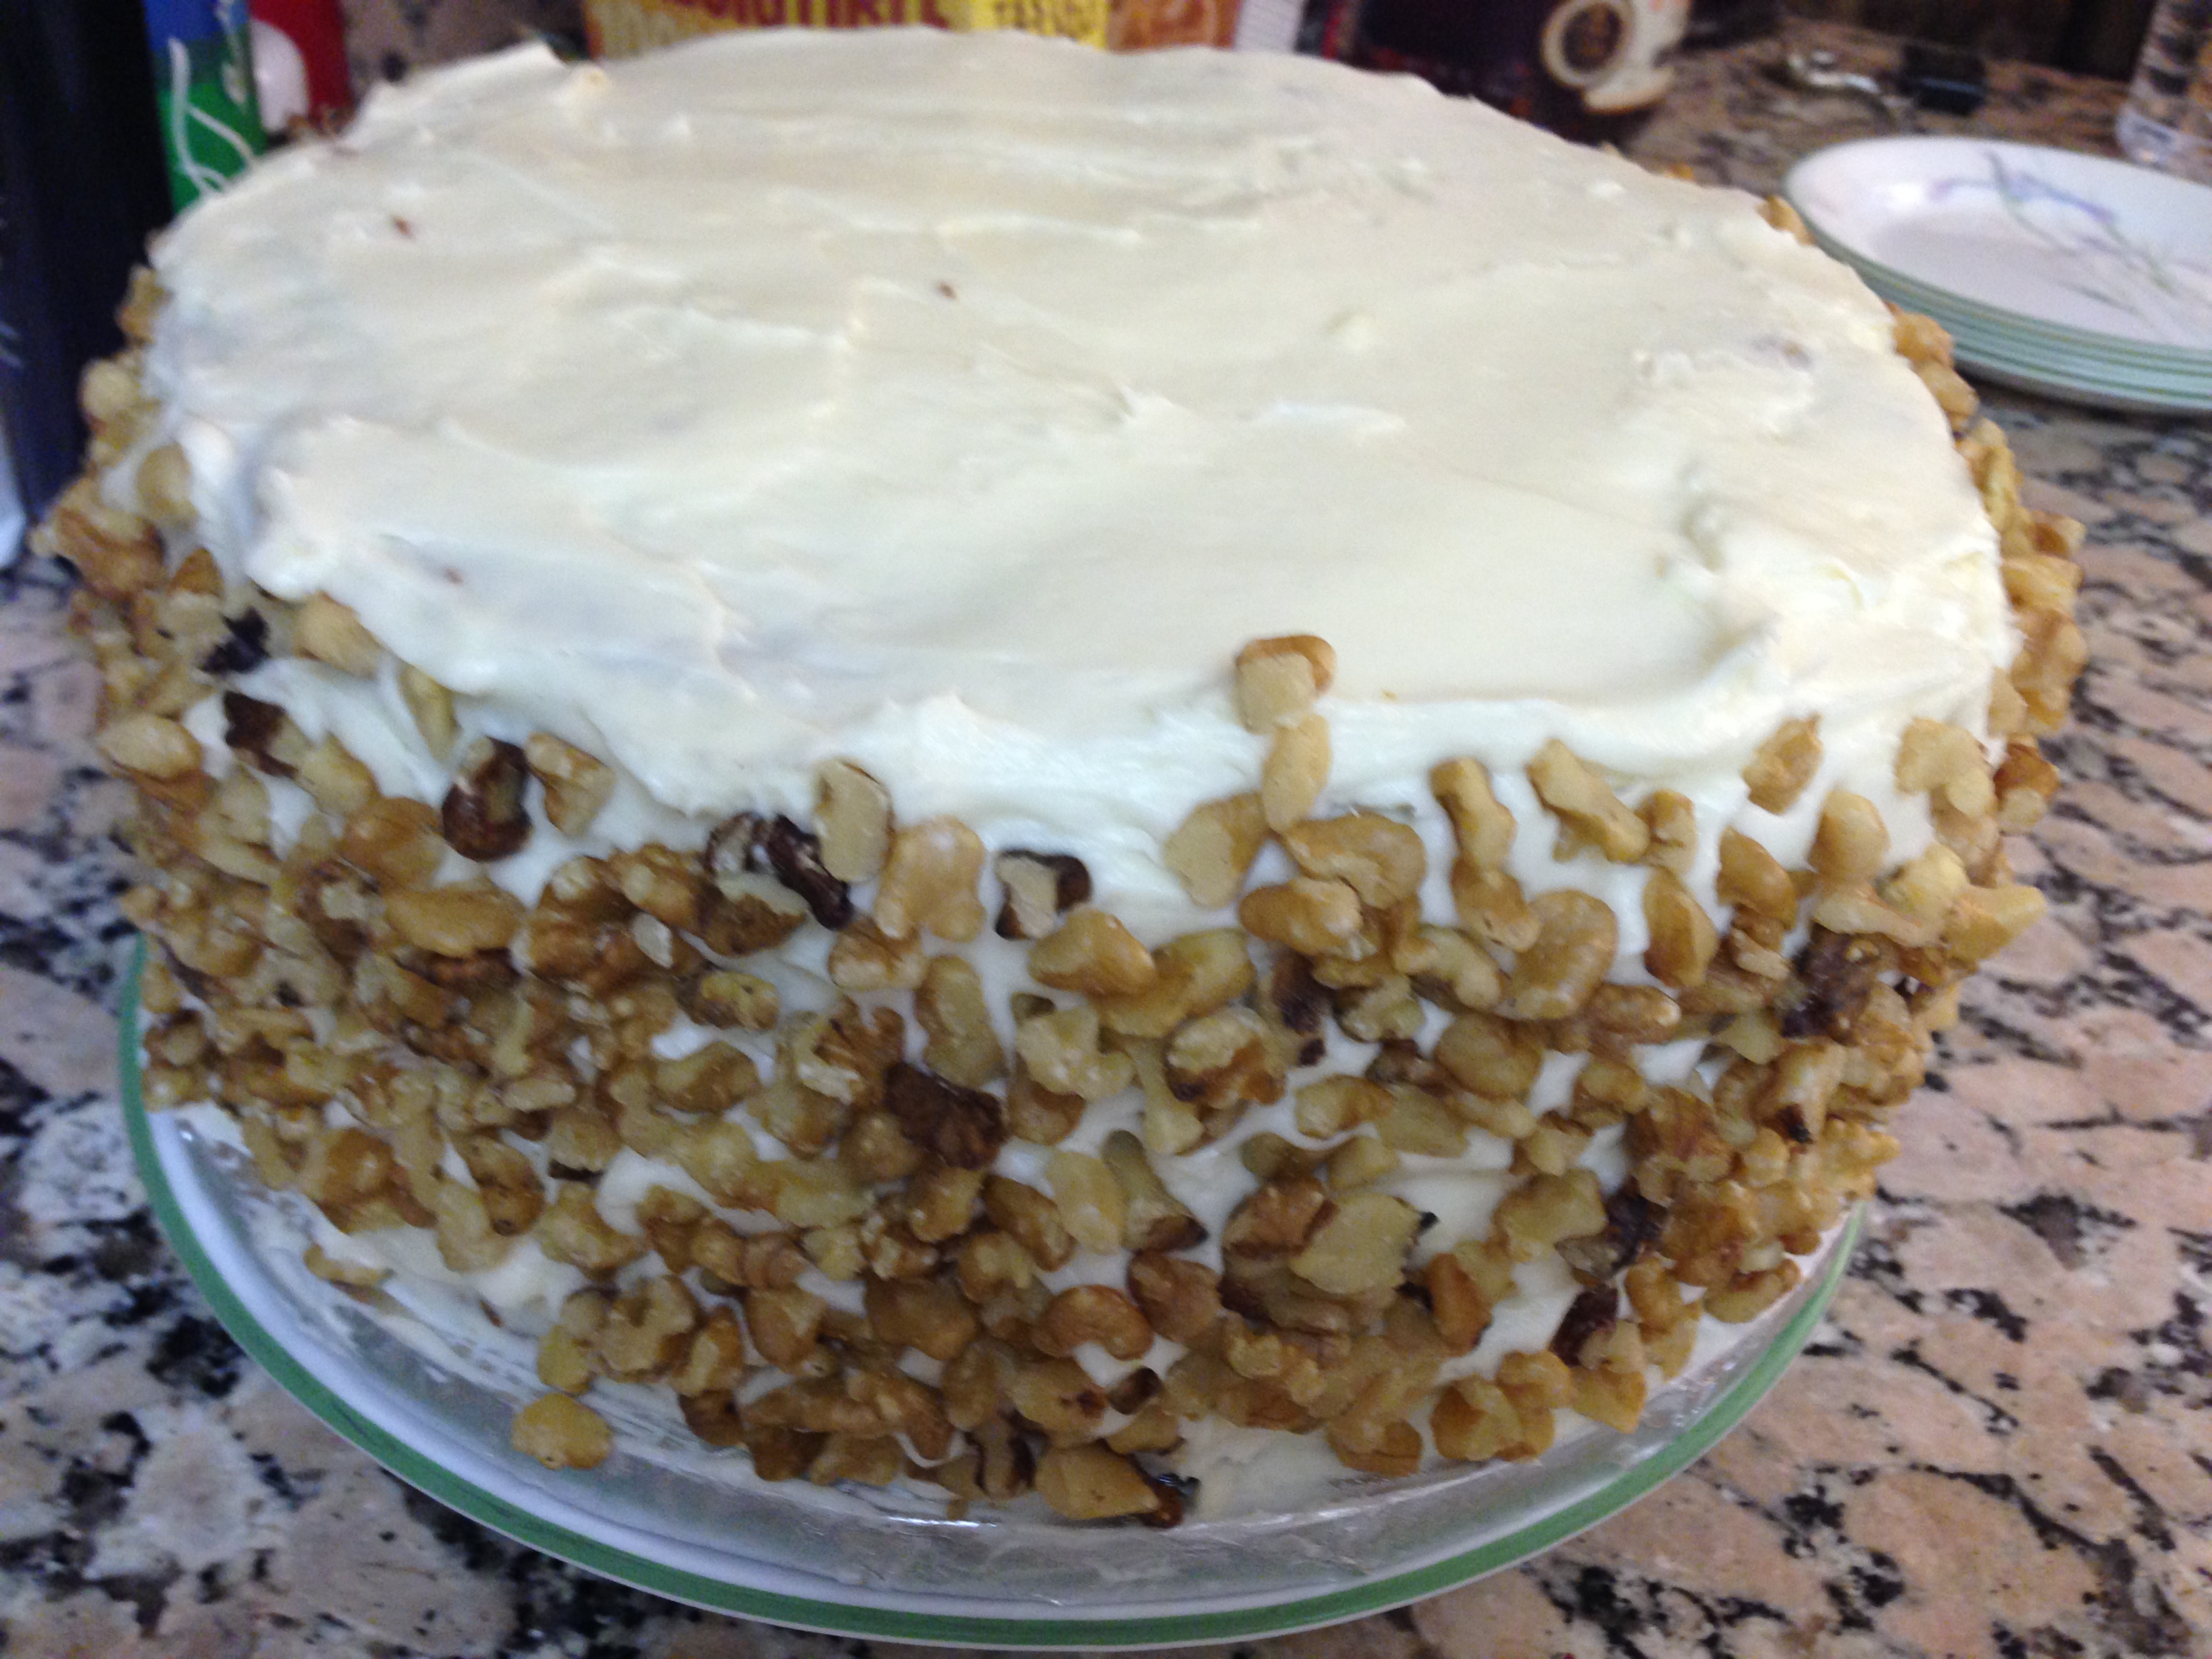
The Best Carrot Cake

The last thing I wrote here was about the time I put a quarter of a habanero in my scrambled eggs and still nearly lost the whole morning to it. That was April 2015. In my defense, I have been busy. On the flipside, eleven years is a long time to leave a blog sitting there with a pepper-related cautionary tale as the final word.
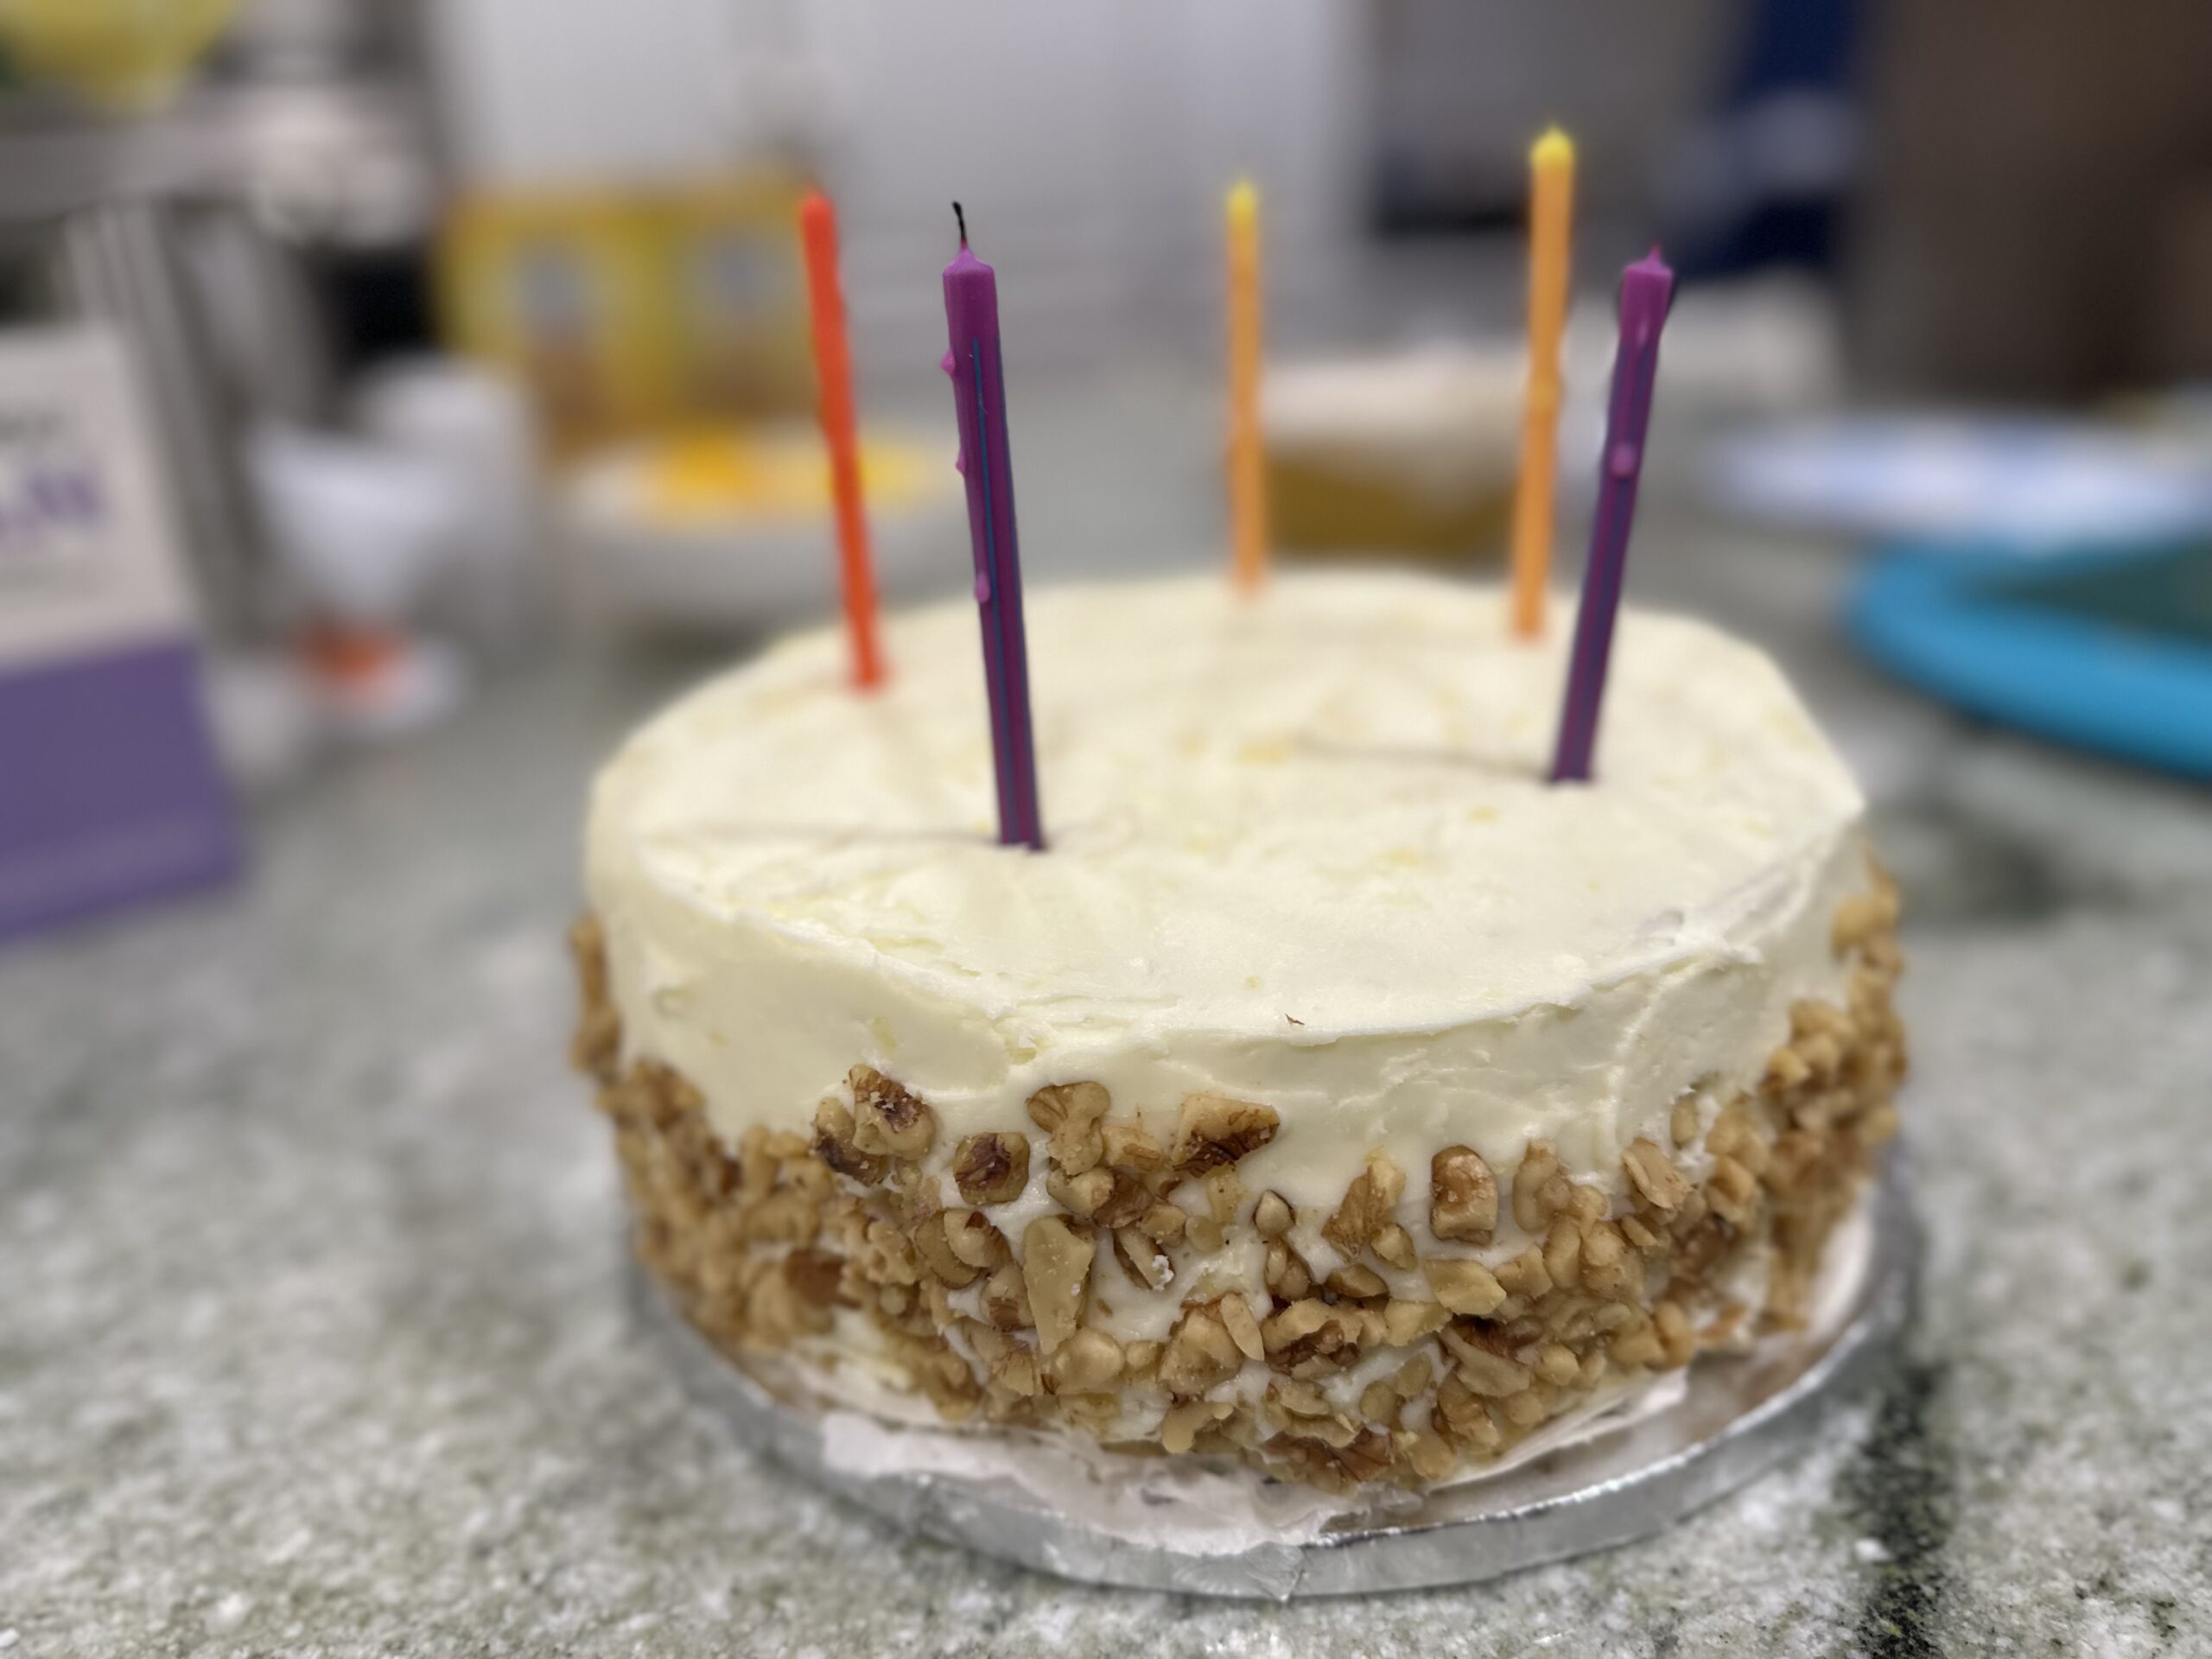
Here is where I landed in the meantime. I am not a cook. I am a birthday cake guy.

Somewhere along the way I became the person in my family who shows up with the cake. Not a bakery box. An actual cake, made in my kitchen, carried to the car with the kind of concentration usually reserved for bomb disposal. I have a line I use when I set it down, and I have used it so many times that people say it with me now: it may not be good, but it was made with love.

That is a joke. The cake is good. This one in particular is the best carrot cake I have ever eaten, and I am not the only person who thinks so.

Where it comes from

I spent two decades as an editor at the Los Angeles Times. So it delights me that the single best recipe in my rotation came out of that paper, from readers who wanted it badly enough to write in and ask.

The cake gets passed around online as the J. Paul Getty Museum carrot cake, which is technically true and gives credit to a building. The person who actually made it was Jean Garrett, wife of Stephen Garrett, the founding director of the Getty Villa. When it opened in the 1970s, somebody had to feed people. Scholars, museum directors, the tea room, the whole apparatus of a working museum. J. Paul Getty was extravagant about art and famously tight about everything else, so the catering budget was thin. Jean Garrett had been a professional cook in England, writing and lecturing before the move, and she put together a crew of volunteers and started working out what to serve.

One of the things she worked out was this carrot cake. It got out. The Times ran it. Readers kept asking for it, which is how it ended up in “Dear S.O.S.,” the paper’s long-running recipe request column, and how it ended up on a few thousand index cards in a few thousand kitchens including mine.

Not bad for a recipe somebody worked out because the boss would not loosen the purse strings.

The recipe

Cake

  • 1 1/2 cups corn oil
  • 2 cups sugar
  • 3 eggs
  • 2 cups flour
  • 2 teaspoons cinnamon
  • 2 teaspoons baking soda
  • 2 teaspoons vanilla
  • 1 teaspoon salt
  • 2 cups shredded carrots
  • 1 cup chopped walnuts
  • 1/2 cup crushed pineapple

Combine everything in a large bowl and mix until blended. Pour into a greased 9-by-13-inch pan. Bake at 350 degrees for 1 hour.

That is the card as Jean Garrett wrote it, and it works. It is not how I make it.

How I actually make it: One batch makes about 7 cups of batter. That is exactly a 9-by-13, which is why the card says what it says. But I want layers, so I double it.

Fourteen cups splits two ways. Two 9-by-2-inch rounds at 5 cups each gives you a two-layer cake and about 4 cups left over, which is a dozen cupcakes. Or split all 14 across three rounds for a taller cake with thinner layers. Five cups in a 9-by-2 leaves the batter enough room to climb without coming over the side, which is the whole reason to measure instead of eyeball.

Line the bottom of each pan with a circle of parchment before you grease it. This cake is dense and moist enough to tear on the way out of the pan otherwise, and a torn layer is a bad start to a stacked cake.

Bake at 350 degrees for 35 to 40 minutes, and start checking at 30. A toothpick from the center should come out with a few moist crumbs clinging to it, not wet batter. Because of the pineapple this cake never tests bone dry the way a plain yellow cake does, so do not chase a perfectly clean toothpick or you will overbake it.

Cool in the pans on a rack for 15 minutes, run a thin knife around the edge, then turn out and peel off the parchment. Let the layers cool completely before you go anywhere near them with frosting. A warm layer plus cream cheese frosting equals soup.

Cream cheese icing

  • 1 pound cream cheese
  • 2 1/4 cups confectioners sugar
  • 1 cup butter
  • 1/4 cup crushed pineapple (optional)
  • 1/2 cup chopped walnuts

Mix the cream cheese, sugar and butter until fluffy. Fold in the pineapple and walnuts.

About that oil

Yes, a cup and a half. Yes, that is a lot against 2 cups of flour. You will find people online who cut it to a cup, or three-quarters, and report back that the cake was still fine.

I am sure it was fine. I do not cut it.

The oil is why this cake is still good on day three, still good on day four, and still good in the refrigerator at 1 a.m. when you are standing there with a fork and no plate. Carrot cake lives or dies on whether it dries out, and this one does not. If you want a lighter cake, there are ten thousand lighter cakes. This is not the assignment.

Things I have learned making it

Toast the walnuts. All of them, the ones going in the batter and the ones going on the outside of the cake. Raw walnuts carry a bitterness that hides behind the sugar but never fully leaves. Ten minutes in a 350-degree oven, shaken once, and they turn earthy and warm instead. Highest return on effort in this entire post.

Double the icing. The recipe as written frosts a sheet cake and does it modestly. It does not frost a layer cake with any confidence. Double it.

Keep the pineapple in the icing, but back it up with more sugar. Here is the tradeoff nobody mentions. That frosting is already soft, a full pound of cream cheese and a cup of butter against a fairly modest amount of confectioners sugar. Crushed pineapple is wet, and wet makes it softer. On a 9-by-13 sheet, delicious. On stacked rounds sitting on a table at a July birthday party, it starts to move. If you are stacking, add confectioners sugar past the 2 1/4 cups the card calls for, a half cup at a time, until the icing holds a peak on the spatula. The pineapple stays. The sugar catches up to it.

Make cupcakes with whatever is left. Scaling up never divides evenly into round pans, and that is fine. Whatever batter does not fit goes into a muffin tin. There is no such thing as leftover batter. There are only cupcakes you have not committed to yet.

The point

I have made this cake for birthdays, for a retirement and once for a friend who was having a bad month and did not ask for anything.

Everything around it is chaos. My counter looks like a crime scene. There is shredded carrot in places shredded carrot should not be able to reach. Katy sits on the stool by the window supervising, and Maggie has to be physically removed from the vicinity of the cream cheese. At some point I will discover I own only one clean bowl.

But the cake comes out right. It comes out right because Jean Garrett figured it out in a museum kitchen fifty years ago on a budget that would not cover a nice lunch today, and because I have made it enough times to know exactly where it wants to be pushed.

So yes, it was made with love. I’m done pretending that’s the joke. It’s just true, and it’s also just a damn good cake.
Habanero chili experiment

Scrambled eggsI had leftover mushrooms from making last night’s dinner, so I decided to make scrambled eggs with spinach, Morning Star veggie sausage patties and mushrooms.

This is probably the closest thing I have to a signature dish, so I am always experimenting with new ingredients in an attempt to make the meal uniquely mine.

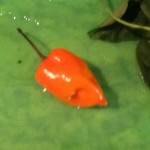
Habanero chiliToday, I decided to add a habanero chili to my scrambled eggs.

I knew this pepper was really hot and I wasn’t sure how much to add.

I cut the pepper in half and tasted a small piece. As you would expect, the habanero was extremely hot. My mouth was burning for at least five minutes. Wiping my eyes before I washed my hands didn’t help either.

I have a low tolerance for really hot food, so I added only 1/4 of the pepper. For most people, half a pepper would be perfect, but I have no desire to feel the burn.

Lessons learned:

– Don’t underestimate the heat of a habanero chili.

– Habanero is often misspelled as habañero.

A delicious and healthy kale salad


kale salad

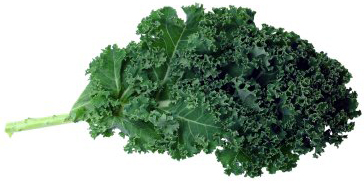
Kale is a bitter cabbage rich with antioxidants

Until recently, Kale was not a food option for me. It looked more like a garnish than food to be eaten, but I decided to make a salad with cabbage in an effort to eat healthier.

To my surprise, the bitter taste of the kale, combined with the sweet apple and the crunchy texture of the almond, made a savory salad.

Kale is often referred to as a super food because it is rich in antioxidants, but the tough leaves of the plant need to be prepared properly to break down the fibers to make it edible.

This recipe is simple to make and will make a convert out of event the most hard-core carnivores.

Enjoy

Kale, apple and almond salad

Incredients:

1 bunch curly kale (washed, stemmed and cut into chiffonade)

1/3 cup toasted almonds (chopped)

1 apple (julienned and tossed with lemon juice)

Dressing:

1/8 cup honey

1/4 cup olive oil

1/2 teaspoon salt

Directions:

Blend all the dressing ingredients. Place kale in a bowl and pour the dressing over the kale. With your hands, massage the kale and dressing for about two minutes. The kale will darken in color and reduce in size by about on half. Toss with almonds and apples.

Be aggressive when you are massaging the kale, otherwise the fiber in the cabbage leaves won’t break down.


Choose your eggs wisely

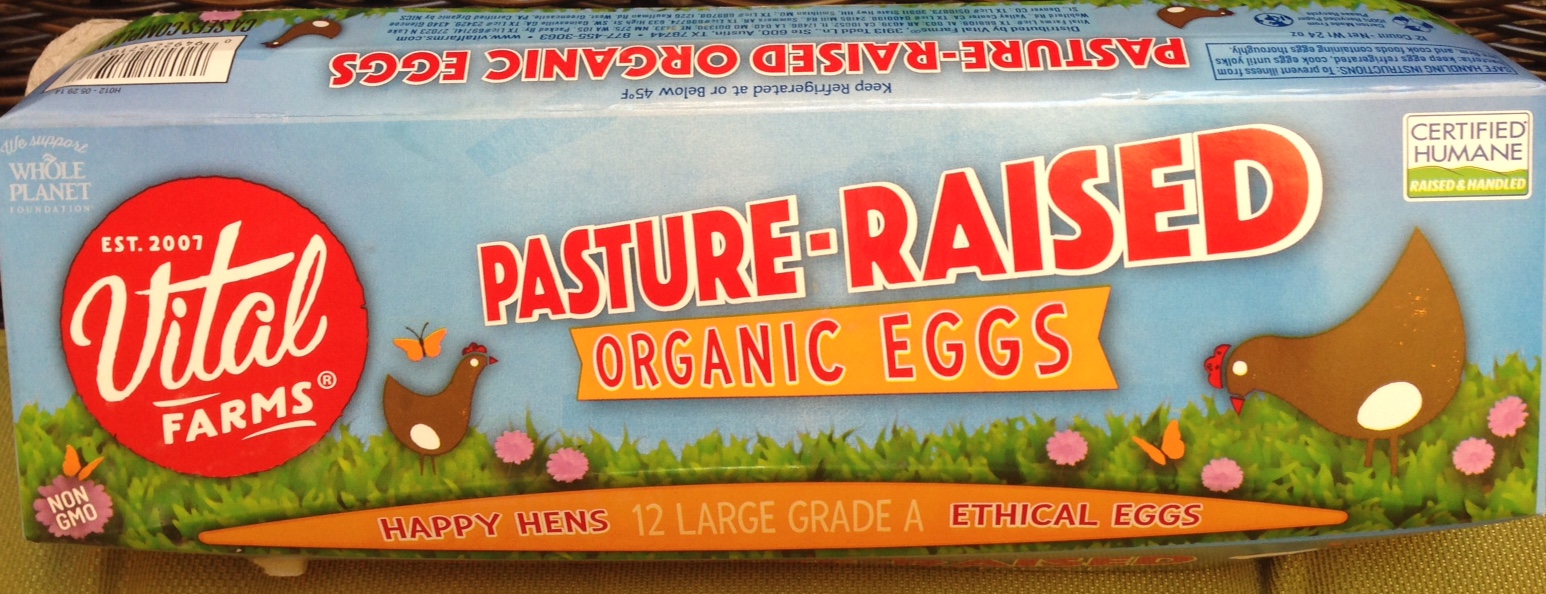
Vital Farms offer a good choice for eggs from ethically raised Chickens.

Vital Farms eggs are Certified Humane.

Egg carton labels are confusing, misleading and almost useless.

Terms such as cage-free, free-range, free-roaming and pasture-raised have no legal standards and have little relevance to the quality of life for the chickens.

Most labeling and packaging conjures up the image of leisurely existence of a hen living out its life in a comfortable setting, With a little research, the vision of the luxury life of a free-range chicken is dashed by the reality of lives spend in cramped spaces where the birds can’t walk or even flap their wings. The nightmare scenario is made worse by the common practice of beak cutting and forced molting through starvation.
The official government labeling on eggs won’t help buyers find chickens raised in a more humane fashion, but there are five third-party certifications to help rate the welfare condition of the hens.

I have divided these into four categories: best choice, good choice, bad choice and avoid-at-all-cost choice. Most of these descriptions come from the Humane Society website

cleoBest choice

Animal Welfare Approved

Pros:
The highest welfare standard for any third-party auditing program
Forced molting through starvation and beak cutting is prohibited
Birds must be able to nest, perch and take dust-baths
All birds are cage-free with at least 1.8 square feet of floor space
Hens must have continuous access to outdoor areas for ranging and foraging
Outdoor areas must be covered with growing vegetation
Feed can’t come from any animal byproducts
Cons:
The certification is only valid for flocks of fewer than 500 birds.

IMG_6296Good Choice

Certified Humane

Pros:
Forced molting through starvation is prohibited
Cons:
Beak cutting is allowed

Three levels of certification

Cage-free
Chickens are uncaged inside a barn
Birds must be able to nest, perch and take dust-baths
Each hen must have at least 1.5 square feet of space

Free-range
Birds must have access to outside area for at least six hours a day
Outdoor areas must be covered with growing vegetation
Each hen must have at least 2 square feet of outdoor space

Pasture-raised
Birds must be place on a pasture for at least six hours every day.
Pasture must be covered mainly with growing vegetation
Each hen must have at least 108 square feet of pasture

Food alliance Certified

Pros:
All birds are cage-free with at least 1. 23 square feet of floor space
Forced molting through starvation is prohibited
Access to outdoors or natural daylight required for at least 8 hours a day
If provided, outdoor area my have growing vegetation
Chickens must be able to nest, perch and take dust-baths
Cons:
Beak cutting is allowed

Bad Choice

American Humane Certified

Pros:
Forced molting through starvation is prohibited
Cons:
Beak cutting is allowed

Four levels of certification

Enriched colony
Hens are confined in 0.8 square feet of space in conditions considered detrimental to animal welfare.
Enriched colony, also called furnished cages, is a misleading description for chickens being raised in inhumane conditions.

Cage-free
Chickens are uncaged inside a barn with 1.25 square feet of floor space
Hens have access to perches and nesting boxes

Free-Range
Each hen provide with 21.8 square feet of outdoor space
No minimum amount of time specified for outdoor access

Pasture
Each hen is provided with 108 square feet outdoor space
Pasture must be covered mainly with growing vegetation
No minimum amount of time specified for pasture access

Avoid-At-All-Cost Choice

United Egg producers certified

Pros:
Forced molting through starvation is prohibited
Cons:
Beak cutting is allowed
Permits cruel and inhumane factory farming practices

Two levels of certification

Caged
Hens have 0.46 square feet of cage space
Chickens are confined in restrictive, barren battery cages and cannot perform natural behaviors such as perching, nesting, foraging or spreading their wings

Cage-free
Hens are uncaged in a barn with 1 square foot of floor space
Access to perching and nesting


A lacto-ovo vegetarian makes scrambled eggs and sausage


unnamed-5Before I go any further, there needs to be full disclosure about my form of vegetarianism. I am a lacto-ovo vegetarian and a pescetarian.

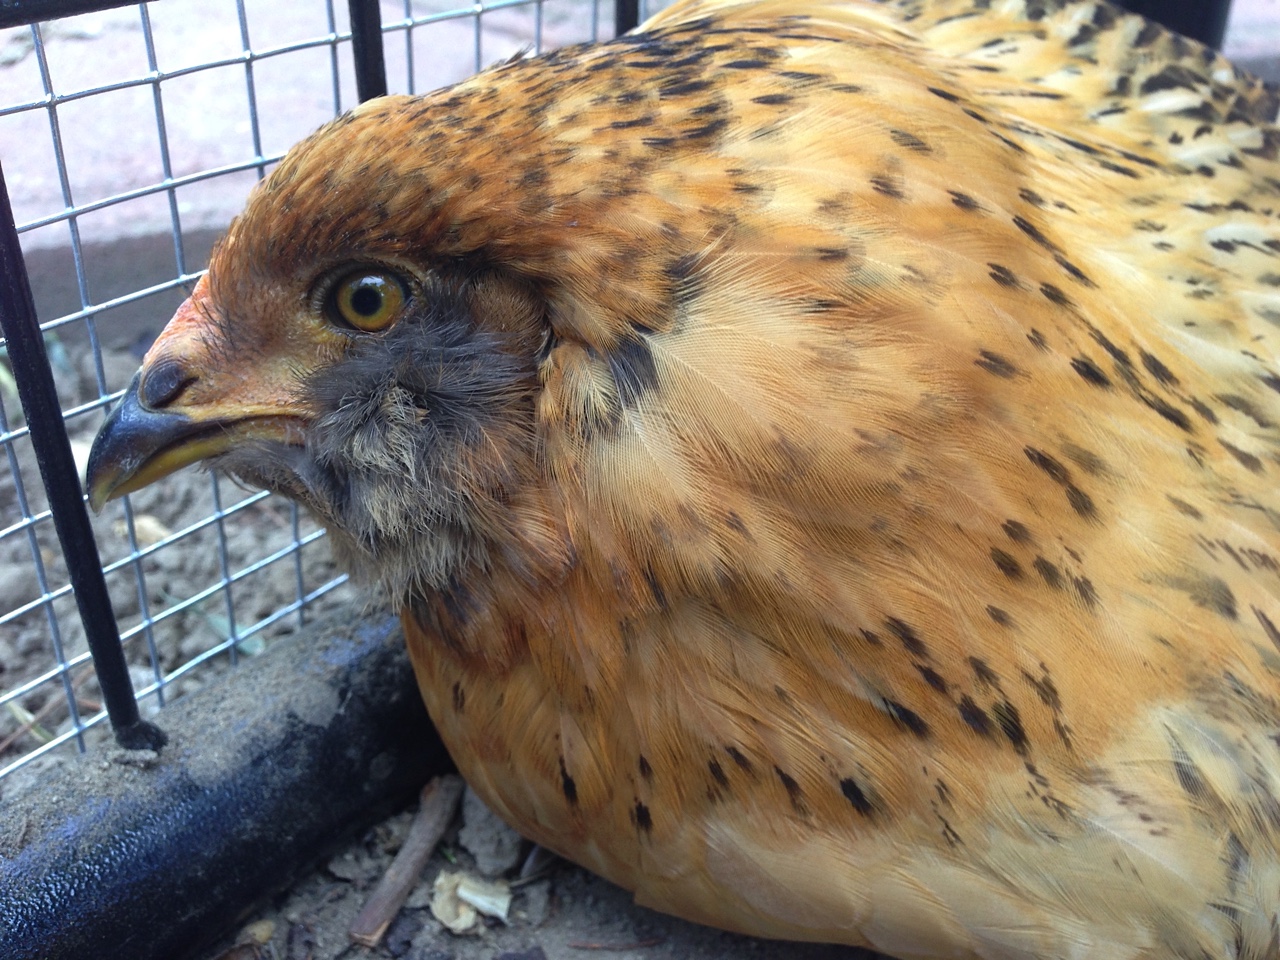
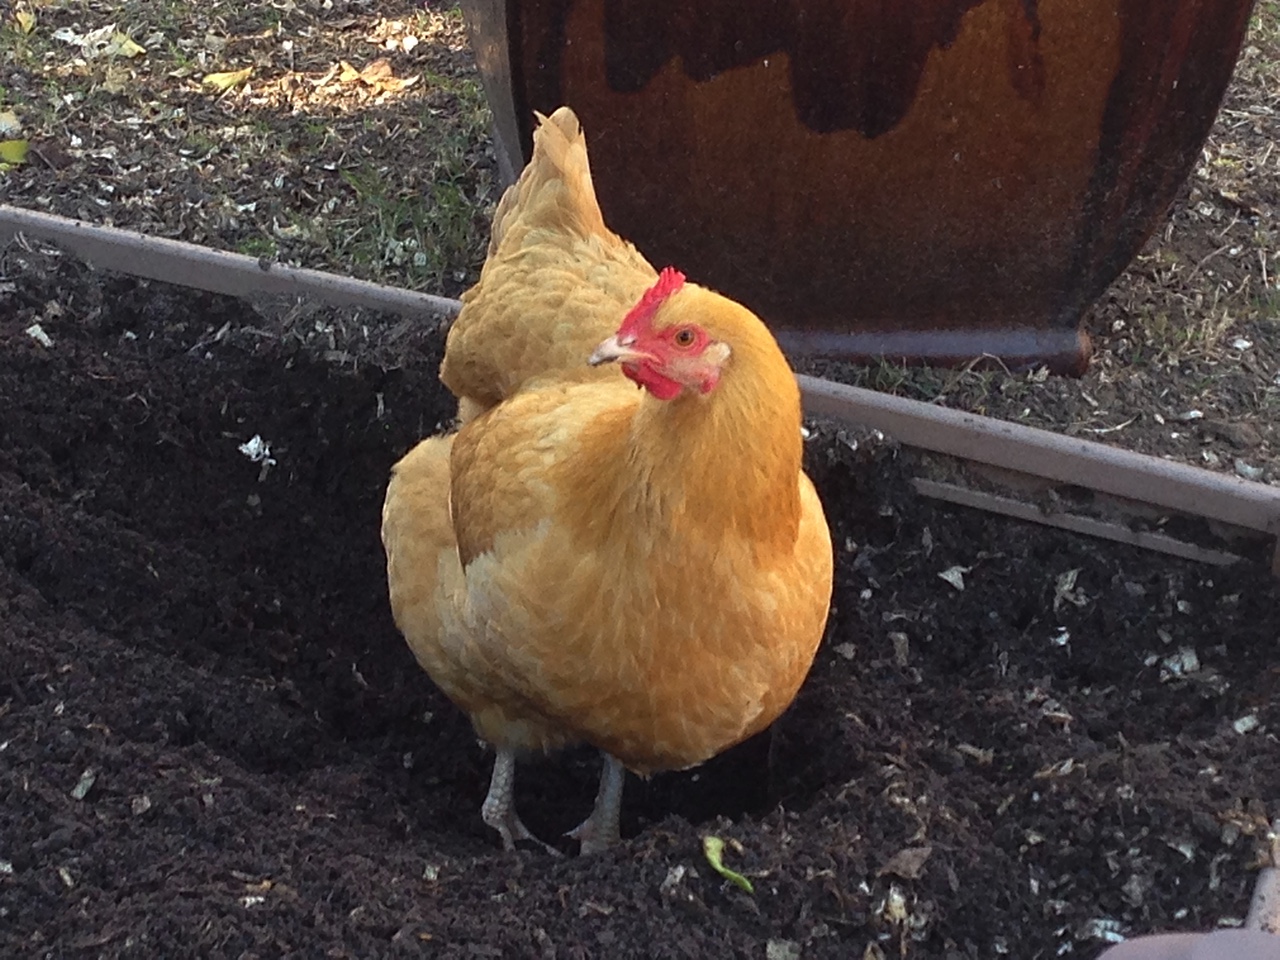
Lacto-ovo vegetarian means I eat eggs and dairy products and pescetarian means I eat fish. I am connected to PETA on Facebook, so I know the horrible living conditions for the typical chicken and cow. I buy locally from organic farms when possible and I get eggs from my mom’s backyard chickens. (She owns three shockingly cute chickens named Arya, Ginger and Cleo.)

There are a lot of reasons not to each fish, starting with overfishing, high mercury levels and the problem with bycatch, which kills dolphins, marine turtles and sea birds that get tangled in the nets. I struggle with my fish consumption, but I will save that topic for another entry.

Today, I am going to write about my favorite breakfast that tastes great and takes less than 10 minutes to make.

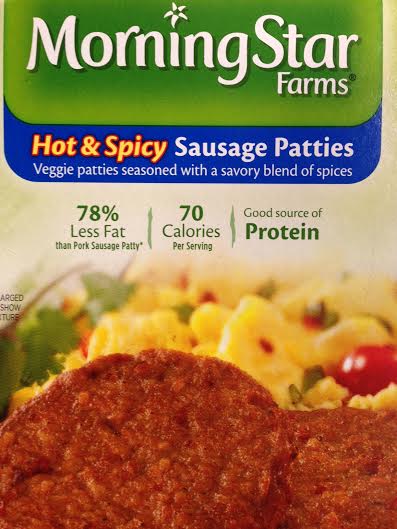
MSThis may start out sounding like an ad for MorningStar Farms, but in my opinion, they make the best-tasting vegetarian sausage patties and I particularly like their Hot & Spicy version.

Here is my list of ingredients to make enough food for two people

  • 4 MorningStar Farms sausage patties
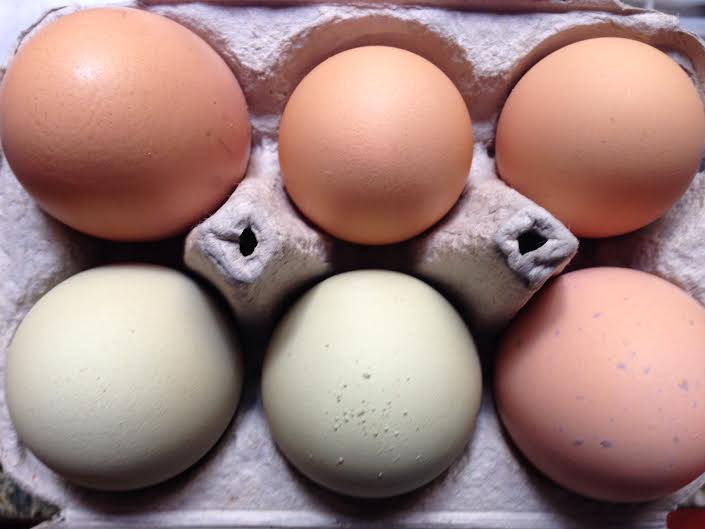
  • 6 farm fresh organic eggs
  • salt (1/8 teaspoon or to taste)
  • pepper (to taste)
  • 1/8 cayenne pepper (optional)
  • 1/4 cup pepper jack cheese (or cheese of your choice)

Microwave sausages for one minute to thaw the frozen patties. (Remove them from the oven and fry them in a 10-inch skillet for about three minutes or until hot.

While the sausages are cooking, break the eggs into a bowl, add the salt, pepper and cayenne and whisk together.

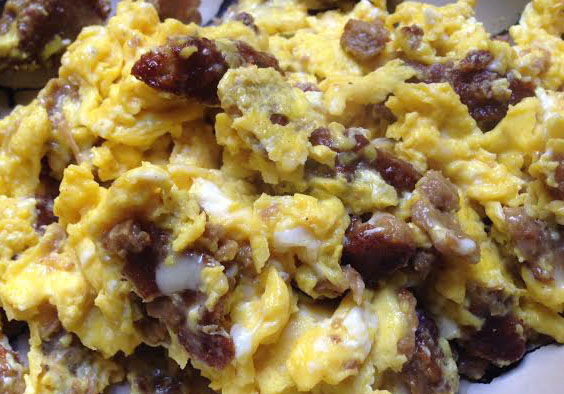
Poor the egg mixture over the sausage patties and stir together. Just before the eggs start to firm up, add the jack cheese and scramble for another 30 to 60 seconds.

eggandcheeseVoila, scrambled eggs with vegetarian sausage that can rival the flavor and texture of the carnivorous version.

Bon appetit!

The quest for a vegetarian version of Cincinnati chili begins

Cincinnati Chili

I spent about 10 years of my childhood living in the Greater Cincinnati area and developed a deep love for Cincinnati chili. I know it is an acquired taste and many people are turned off by the addition of cocoa and cinnamon to a chili dish, but I was addicted to two restaurants that specialized in Cincinnati chili: Skyline Chili and Gold Star Chili.

When I became a vegetarian, I thought my chili days were over. I avoided the temptation to visit my old haunts. I didn’t contemplate the possibility of a vegetarian version until I stumbled upon a recipe on PETA’s website.

My parents and siblings are all hardcore carnivores, so they love to taunt me every time they eat a five-way (spaghetti, Cincinnati chili, cheese, onions and beans) or a coney (a chili dog with Cincinnati chili).

Salvation is at hand. After a quick Google search, I discovered dozens of vegetarian and vegan recipes for Cincinnati chili.

My new mission, along with baking birthday cakes for friends and family, is to find the perfect vegetarian chili recipe.

I am going to start with the PETA recipe and will continue trying out recipes until I find the best one.

Stay tuned.

Oops! That was baking soda,
not baking powder

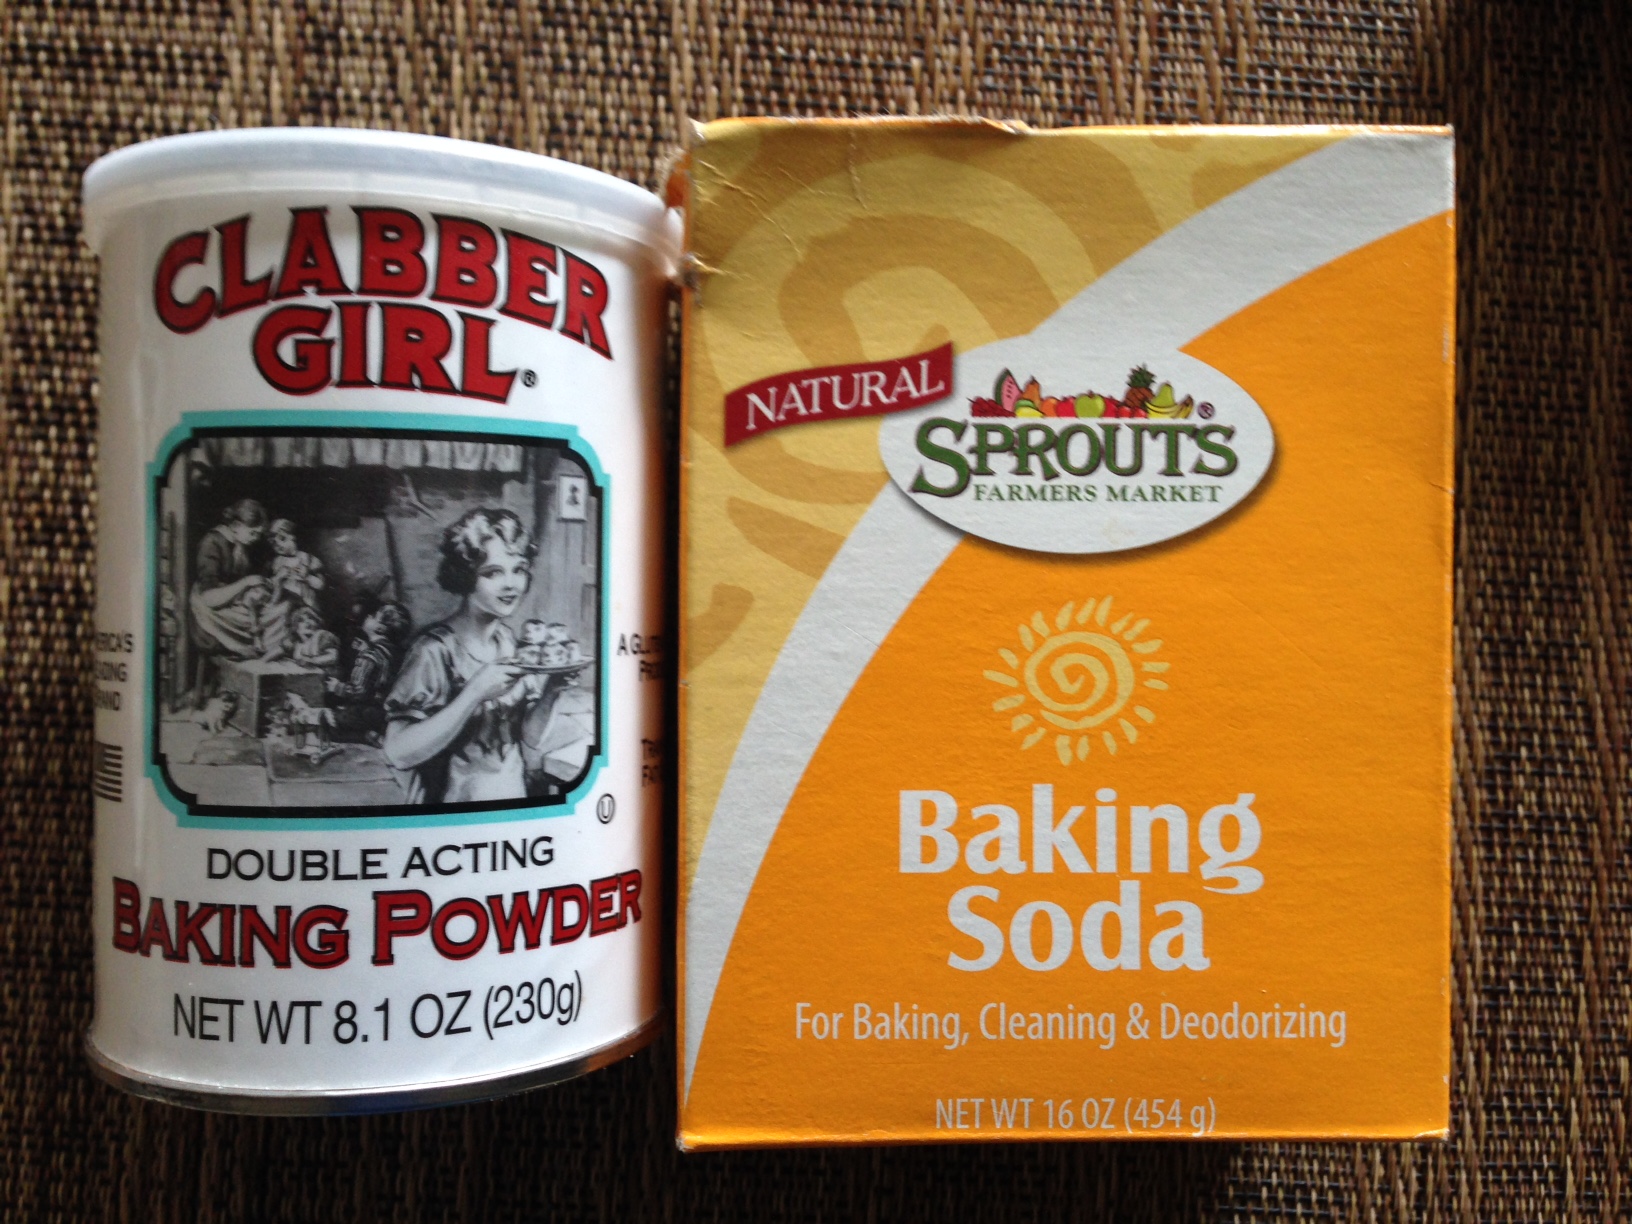
sodaI was making a carrot cake for my brother’s birthday over the weekend and after I added the baking powder into the mix, I realized the recipe called for baking soda.
At this point, it was too late to start over. The party was in a few hours and I didn’t have time to buy new ingredients.
I knew soda and powder were leaveners, but I didn’t know the difference. In a panic, I added the four teaspoons of baking soda listed in the recipe to the two teaspoons of baking powder already in the mix.
I poured the cake mixture into a pan and put it in the oven to cook for an hour. I immediatley started googling the subject to find out what to expect from using too much leavener.
Thanks to Simple RecipesI learned that baking soda is made of sodium bicarbonate and is a base. Baking powder is a baking soda mixed with an acid like cream of tartar. Apparently, I could have used three times the amount of baking powder (twelvet teaspoons) instead of using the baking soda.
As I watched the cake cooking, it looked great until about 10 minutes before it was done. Because there was too much leavener in the cake, it had risen a little too much and the middle collapse about a quarter of an inch.
carrot cakeFortunately, the flavor and texture were still great. The cream cheese frosting hid any of the imperfections and no one ever complains about having too much cream cheese frosting.

Lessons learned:

  • Read recipe closely
  • Baking soda needs acid in the recipe to work
  • Baking soda adds a slight salty flavor to a dish
  • You can replace baking soda with baking power, but you can’t replace packing powder with baking soda
  • When enough cream cheese frosting, almost anything is edible.

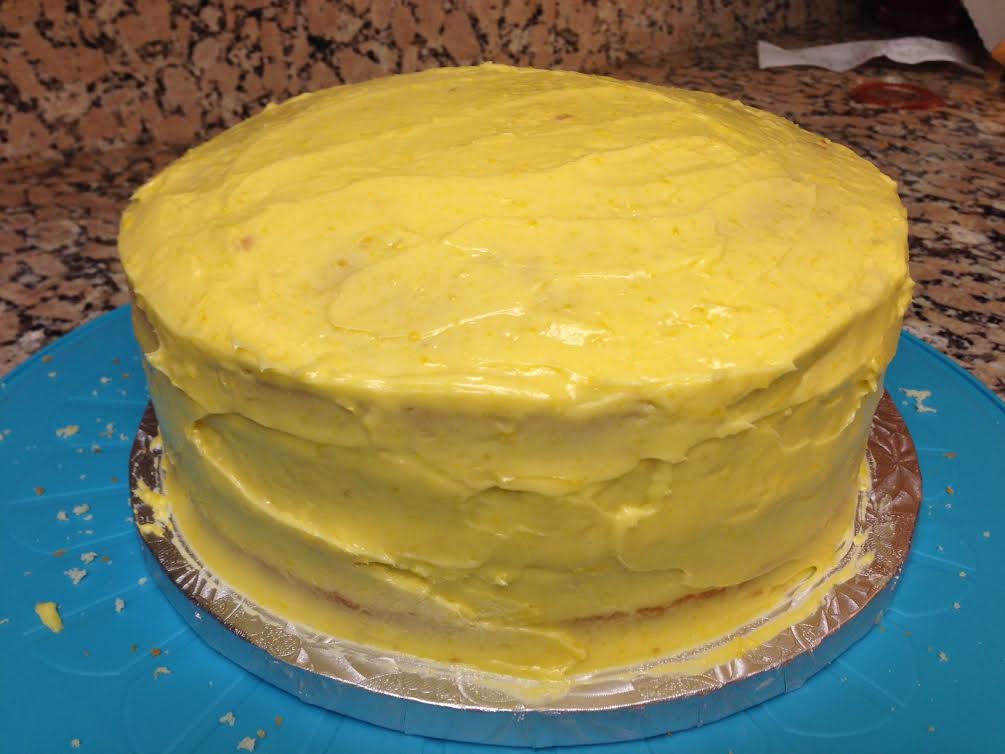
A lemon layer cake
with a sour disposition

lcake
I am not a fan of lemon bars, loaves or cakes primarily because I have had too many bad experiences eating lemonish flavored food. The texture and flavor a weird gelatinous material with a slightly sour taste layered on a dry yellow cake is one of my least favorite desert experiences.

In order to shake off my negative association lemons and desserts, I wanted to find a good recipe for lemon layer cake.

I knew I was on the right track when I stumbled on a recipe from Saveur with a description of a lemon infused masterpiece with lemon zest, lemon tart syrup and lemon curd frosting. Yum.

I was unsure how many lemons I needed to make a cup of lemon juice and a little more than ¼ cup of lemon zest. In my eagerness to avoid returning to the store to purchase a few additional lemons, I purchased 24 lemons and only used a dozen for the cake. As a result, I will be drinking lemonade for the next week.

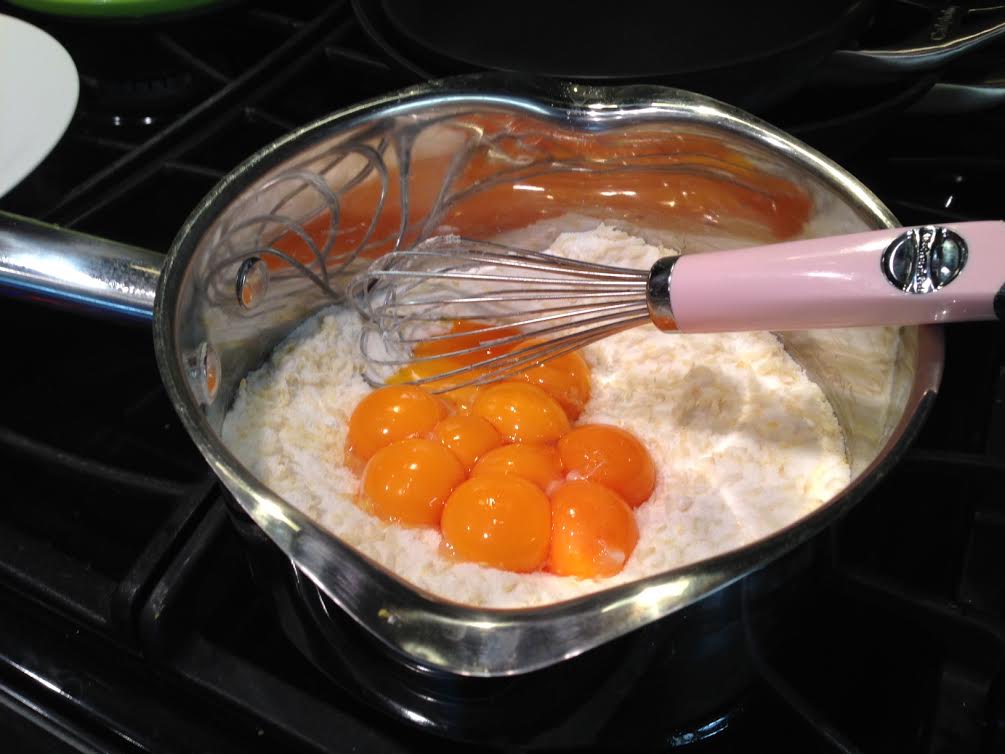
eggsMaking the curd was probably the most interesting part of preparing the cake. Cooking ten egg yolks and 1 ½ cups of butter into a smooth creamy textured created a decadently delicious frosting and potentially a heart stopping dessert.

The cake was light and fluffy, but the rich lemon flavor of the curd made the cake a big success.

My advice to anyone interested in making the lemon layer cake is to make at least 50% more frosting than the recipe recommended.

Here are the ingredients for anyone considering making this tart treat.

For the cake and syrup:
16 tbsp. unsalted butter, softened, plus more for pans
2 1/2 cups cake flour, plus more for pans, sifted
2 1/2 tsp. baking powder
1 tsp. kosher salt
1/2 cup milk
1 tsp. vanilla extract
1 3/4 cups sugar
1 tbsp. lemon zest
4 eggs
1/3 cup fresh lemon juice

For the frosting:
1 1/2 cups sugar
1/4 cup cornstarch
1/4 cup lemon zest
1 tsp. kosher salt
10 egg yolks
1 cup fresh lemon juice
1 1/2 cups unsalted butter, softened
1 tsp. vanilla extract

Radicchio Salad with Walnut Dressing

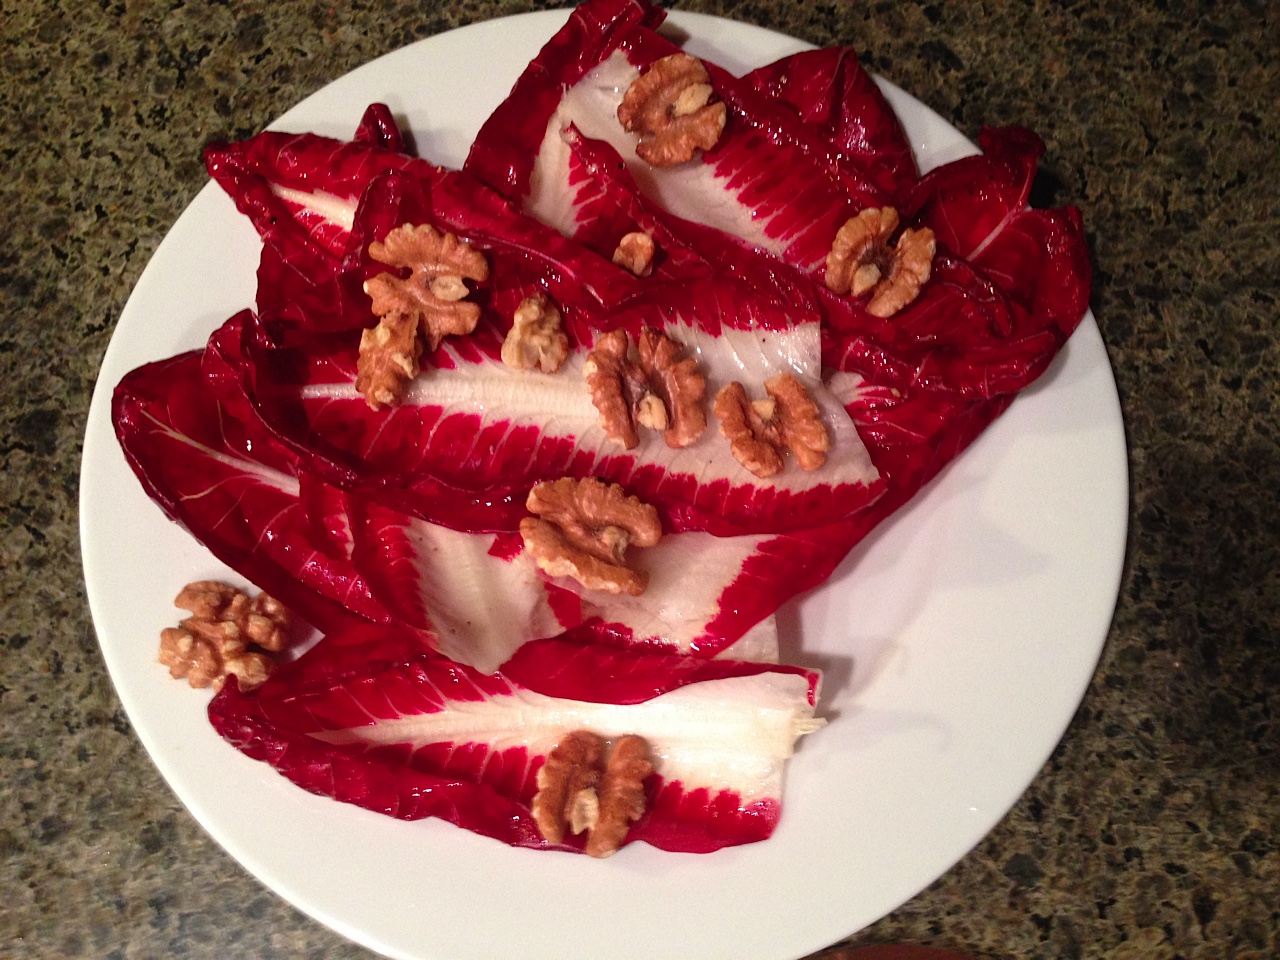
Radicchio Salad with Walnut DressingSpecial thanks to Martha Steward for not only posting a simple recipe for radicchio salad, but also explaining the differences between radicchio di Treviso (narrow, tapered head) and radicchio di Verona (loose, round head). Both radicchios are named after the Italian regions where they originated.

I chose this recipe because I was not familiar with the taste of radicchio di Treviso and wanted something that would highlight the flavors of the colorful vegetable.

The salad dressing made with white-wine vinegar, salt, ground pepper and walnut oil complimented the slightly bitter flavor of the leaves without overpowering it.

I suggest leaving the dressing on the salad for a few minutes before serving so the acidity of the vinegar can starts cooking the radicchio leaves and softens its texture. I also suggest cutting the leaves into several pieces to make it easier to eat.

If you decide to add walnuts, toast them for about five minutes to help bring out their flavors.

Overall, the nutty flavor of the dressing tamed the bitterness of the radicchio to make this an enjoyable salad I will definitely make again.

You say radicchio, I say Treviso

Treviso radicchioI was in an experimental mood today, so I went to the grocery story for the sole purpose of buying a vegetable I knew nothing about and figuring out how to prepare it for tonight’s dinner.

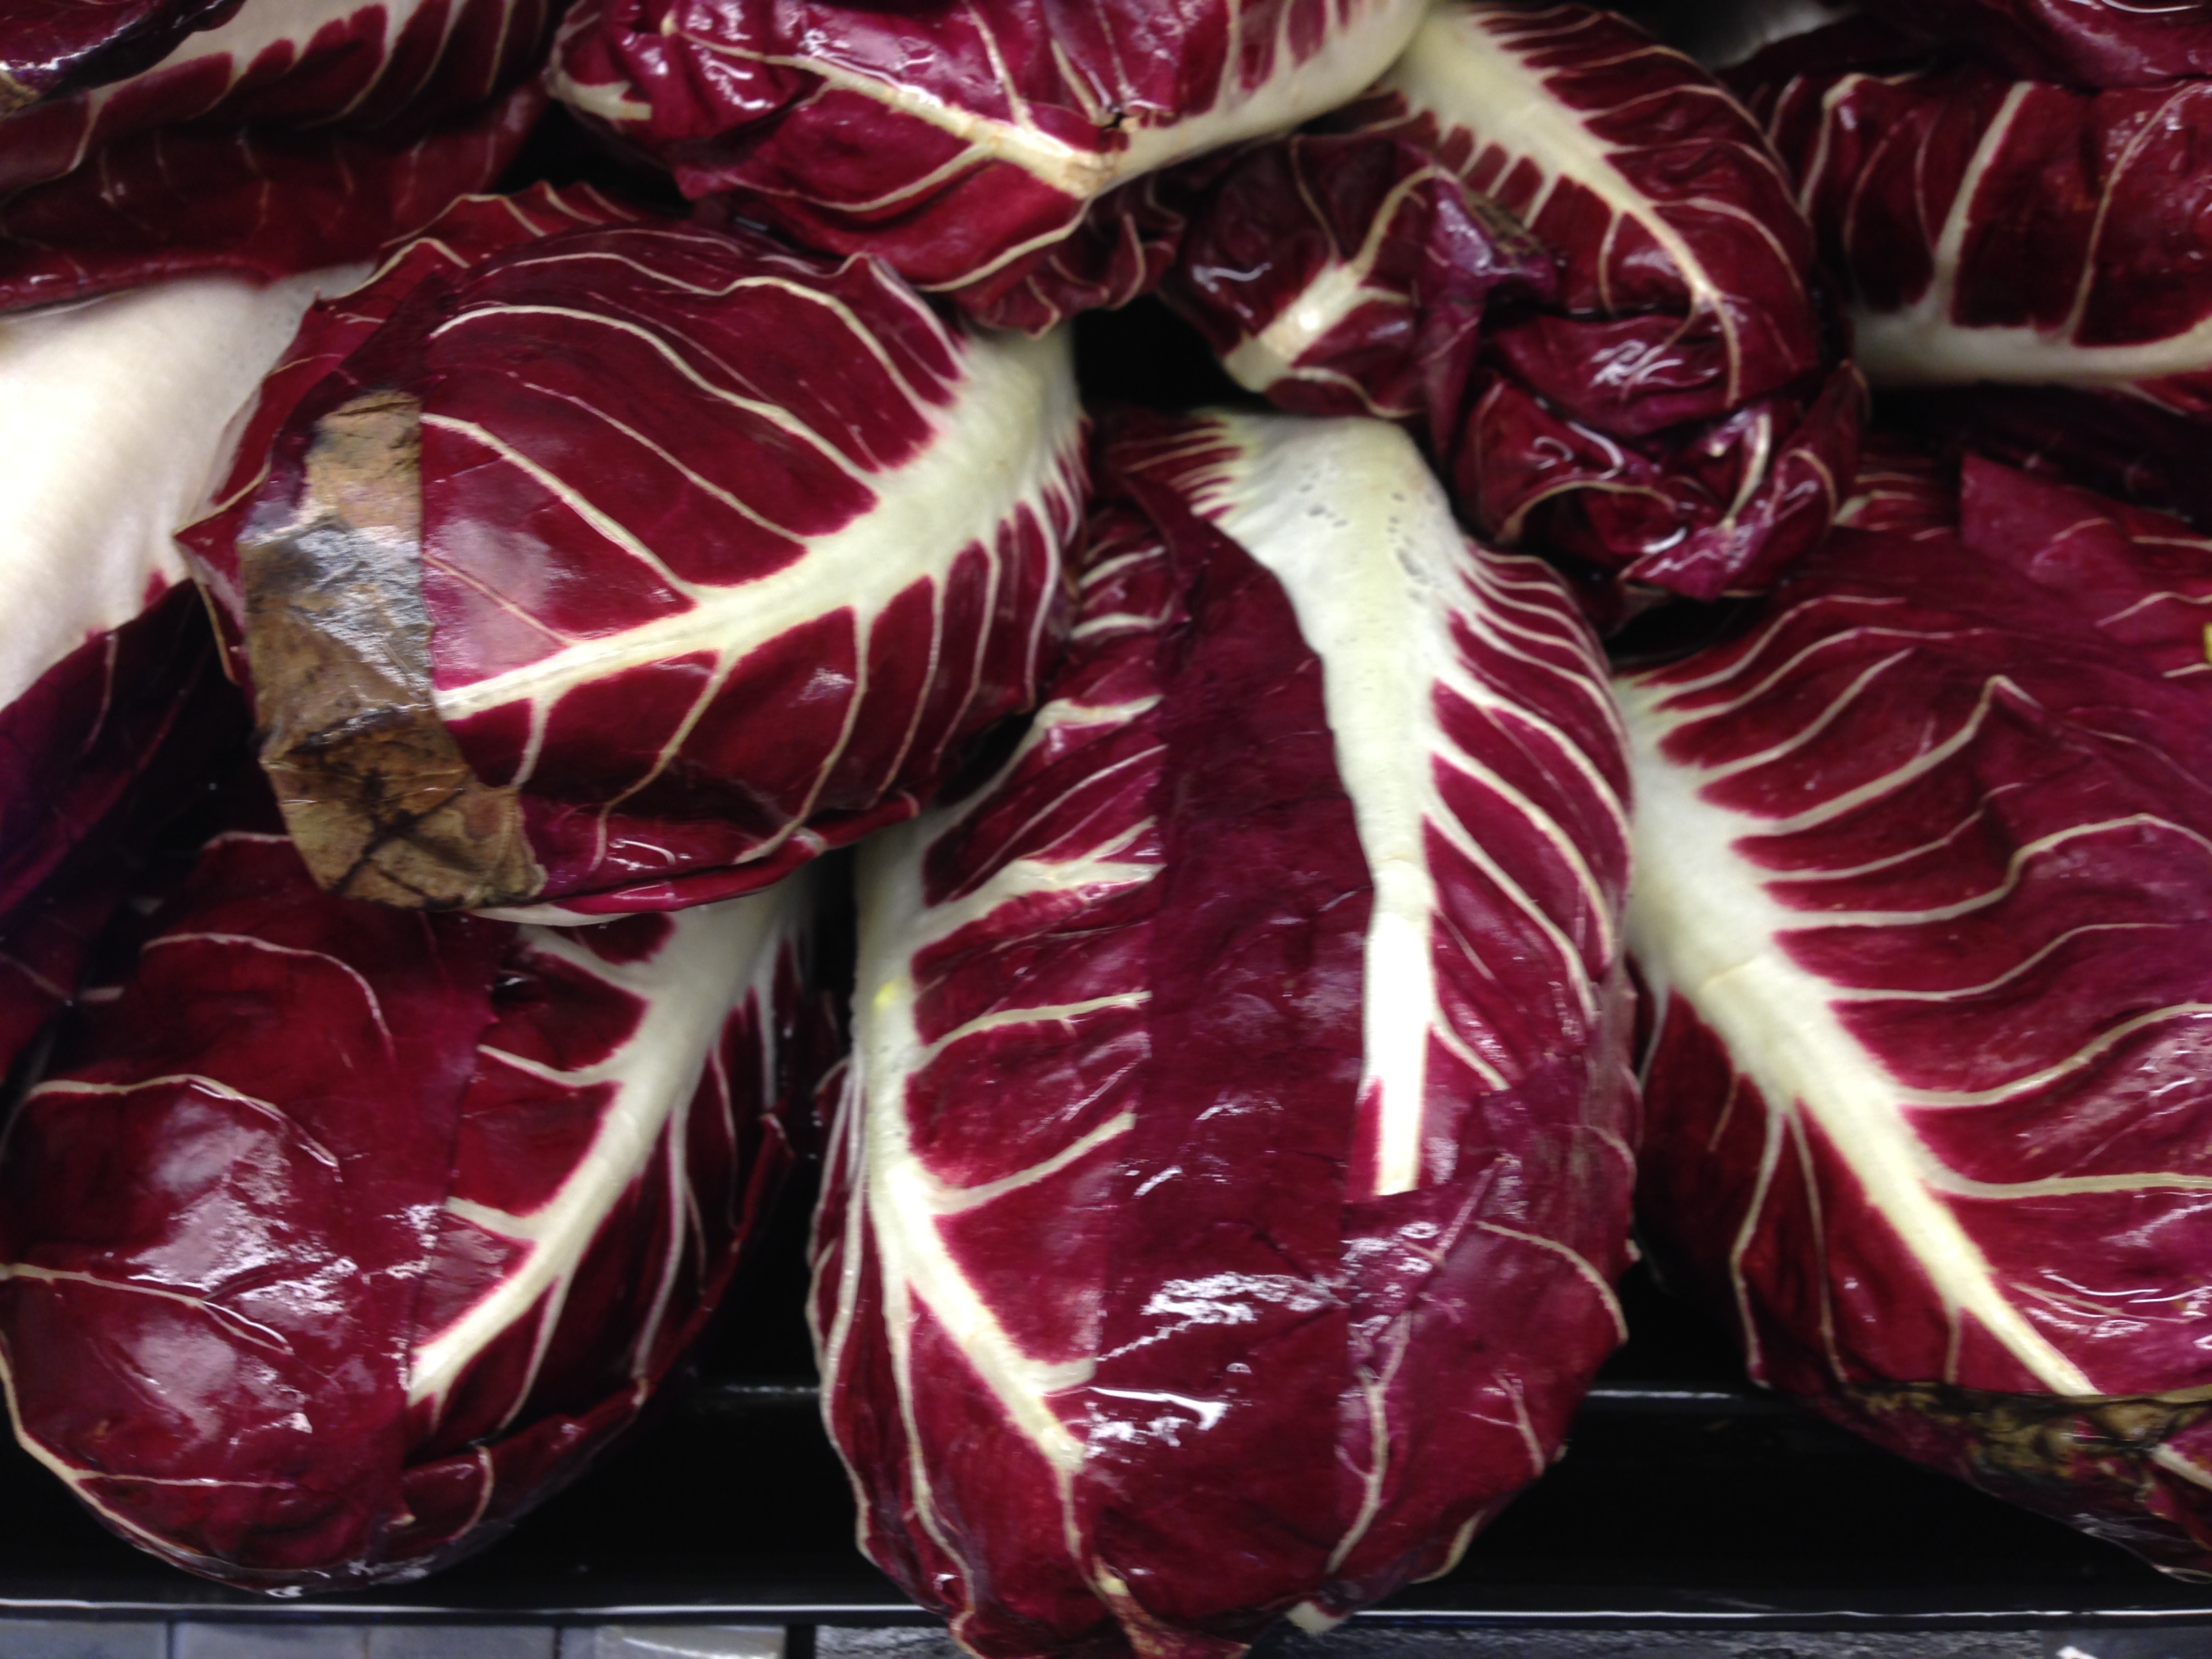
After a few minutes of exploring the vegetable aisles, I discovered Treviso radicchio, a purple-leafed vegetable with white veins and shaped like an elongated football.

After a quick search on Wikipedia, I discovered the waxy looking vegetable is a leaf chicory with a bitter and spicy taste. I don’t know what any of that means, but I bought it anyway.

Now all I have to do is find a recipe. I will post the results later this afternoon.